Sevierville, Pigeon Forge, and Gatlinburg

Plumbing

Pipe Insulation: Protecting Your Plumbing in Winter

Prevent frozen pipes and reduce energy costs with proper pipe insulation techniques for cold weather.

Booking

Reserve a visit

Step 1 of 3
Choose division, category, and issue
Start with the service division
By Plumbing Team
2025-04-10
5 min read
Pipe Insulation: Protecting Your Plumbing in Winter
Pipe InsulationWinterPreventionEnergy Savings

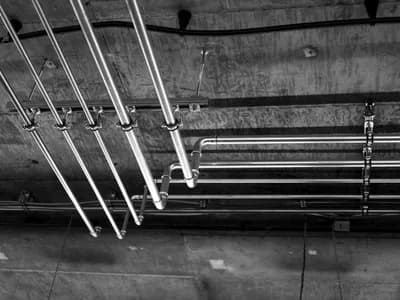
As temperatures drop, the water in your pipes can freeze, expand, and potentially cause a burst pipe—leading to catastrophic water damage. Pipe insulation is a simple, inexpensive preventive measure that protects your plumbing and offers other benefits year-round.

🏆 Key Benefits of Insulating Pipes

Insulation does more than just prevent freezing.

🧊 Freeze Prevention

The primary benefit is preventing water from freezing inside pipes located in unheated areas like basements, crawl spaces, and attics.

⚡ Energy Savings

Insulating hot water pipes reduces heat loss, so your water heater doesn't have to work as hard. This can save you money on energy bills.

💧 Condensation Control

On cold water pipes, insulation prevents "sweating" during humid months, which helps control moisture and prevent mold growth.

🤫 Noise Reduction

Insulation can help dampen the noise of running water, leading to a quieter home.

📋 Types of Pipe Insulation

The most common type for DIY projects is foam pipe insulation.

🧽
Foam Sleeves: These are flexible tubes, often with a slit down the side and self-sealing adhesive. They are inexpensive and very easy to install.
🧶
Fiberglass Insulation: This type is more rigid and often used by professionals for high-temperature pipes, but it's less common for residential DIY.

🔧 How to Install Foam Pipe Insulation

This is a straightforward DIY project that can be completed in an afternoon.

1
Measure Your Pipes: Measure the diameter of your pipes (most homes have 1/2-inch or 3/4-inch pipes) and the total length you need to cover.
2
Purchase Materials: Buy the correct size foam sleeves. Get a few extra feet just in case.
3
Cut to Length: Use scissors or a utility knife to cut the foam sleeves to fit the lengths of your exposed pipes.
4
Install the Sleeves: Open the slit on the foam sleeve and snap it over the pipe. If it has an adhesive strip, peel the backing and press it firmly to seal the seam.
5
Seal the Joints: For corners and T-joints, you'll need to cut the foam at angles (mitering) to ensure a snug fit. Use duct tape or zip ties to secure any joints.

Focus on pipes in unheated or poorly insulated areas first, as these are the most vulnerable to freezing.

For comprehensive winterization services or to repair damage from a burst pipe, trust the experts at The Box Advantage Group. We offer professional plumbing services to keep your home safe and dry all winter long.

P

Author

Plumbing Team

Back to articles

Final call

Need property helpup in the Smokies?

Book service directly here for homes, cabins, rentals, and business properties across the Smokies, or call if you want to talk through the job first. From plumbing and HVAC to handyman work and groundskeeping, the schedule is built to handle real property details cleanly.

Booking

Reserve a visit

Step 1 of 3
Choose division, category, and issue
Start with the service division