Shower Head Replacement: DIY Installation Guide

Replacing a shower head is one of the quickest and easiest DIY home improvement projects you can tackle. Whether you're upgrading to a more efficient model, a rainfall shower head, or simply replacing a clogged one, this simple task can dramatically improve your daily shower.
🛠️ Tools You'll Need
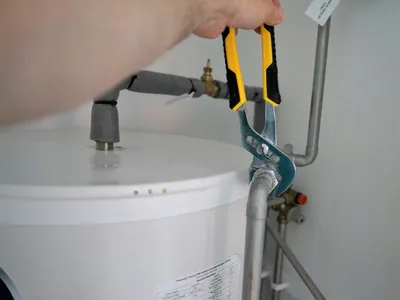
This project requires very few tools, most of which you probably already have.
🚿 Step-by-Step Installation
Follow these four simple steps to replace your shower head in under 15 minutes.
💧 Check for Leaks
Turn on the water and check the connection for any drips. If you see a leak, gently tighten the shower head a little more. If it persists, you may need to re-wrap the threads with Teflon tape.
Pro Tip: Running the water for a minute after installation helps flush out any debris that may have been dislodged during the process.
While replacing a shower head is a simple DIY, The Box Advantage Group is here for all your larger plumbing needs. From installing new shower valves to full bathroom renovations, our experts are ready to help.
Tags
Related Articles
Discover more articles that might interest you from our comprehensive collection.
Ready to Experience The Box Advantage?
Join hundreds of satisfied customers who trust us with their home and business needs.

