Baseboard Installation: Finishing Touches
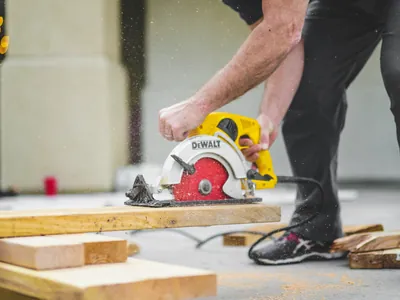
Baseboards are the finishing touch that bridges the gap between your walls and flooring, hiding imperfections and giving a room a clean, polished look. Installing baseboards is a project that requires precision, especially when it comes to cutting the corners, but with the right tools and techniques, it's a very satisfying DIY project.
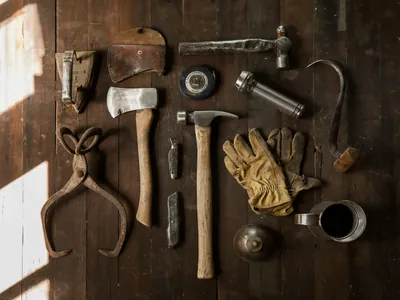
tools Tools for the Job
Accurate cuts are essential for tight-fitting joints.
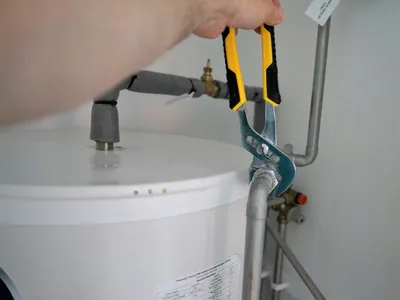
cutting The Art of the Inside Corner: Coped Joints
For inside corners, pros don't use two 45-degree miter cuts. They use a technique called "coping" for a tighter, more forgiving joint.
🔧 General Installation Steps
Work your way around the room, one wall at a time.
Installation Process:
- Start on the Longest Wall: Measure and cut the baseboard for the longest wall first. If a wall is longer than a single piece of trim, join two pieces with a "scarf joint" (two opposing 45-degree cuts).
- Mark Stud Locations: Use a stud finder to lightly mark the stud locations on the wall just above where the baseboard will sit.
- Nail the Baseboard: Press the baseboard firmly against the wall and floor. Drive nails into the wall studs for the most secure hold. Also, place a few nails along the bottom into the floor's sole plate.
- Finish the Job: Sink the nail heads slightly with a nail set. Fill the nail holes with wood putty and caulk the top edge of the baseboard for a seamless look before painting.
Perfect corners and tight joints are the mark of quality trim work. If you're looking for a flawless finish for your room, contact The Box Advantage Group. Our skilled handymen specialize in all types of trim and molding installation.
Tags
Related Articles
Discover more articles that might interest you from our comprehensive collection.
Ready to Experience The Box Advantage?
Join hundreds of satisfied customers who trust us with their home and business needs.